Introduction to Cake Pops
Cake pops have become a beloved treat for all sorts of occasions, from birthday parties to weddings, and even as special gifts. These bite-sized desserts are not only delicious but also versatile, allowing for endless customization. Whether you’re making them for a birthday party, a holiday celebration, or just as a fun weekend project, cake pops offer a creative and satisfying way to enjoy cake in a different form.
But why make cake pops at home? Not only do they allow you to control the ingredients and flavor, but they also offer a fun way to involve kids in the kitchen. Plus, homemade cake pops are often fresher and more flavorful than their store-bought counterparts. The ability to choose your own ingredients, including the cake flavor, frosting type, and decorative elements, means you can tailor these treats to suit your taste preferences perfectly.
Cake pops are also an excellent way to use up leftover cake or cake crumbs, turning what might otherwise be waste into a delightful dessert. If you’re new to cake pop making, don’t worry—this guide will walk you through every step, from the essential tools and ingredients to advanced decorating techniques. For a more detailed step-by-step guide, check out Simply Recipes’ Cake Pop Guide.
Essential Tools and Ingredients for Cake Pops
Before you get started, make sure you have the necessary tools and ingredients:
- Tools Needed:
- Cake pop sticks: Essential for creating the iconic cake pop look and making them easy to serve and eat.
- Styrofoam block: Useful for holding the cake pops upright while they dry, ensuring that the coating sets evenly.
- Mixing bowls: You’ll need several for mixing the cake, frosting, and any coatings.
- Baking sheet: For laying out your cake pop balls before dipping.
- Parchment paper: To prevent the cake pops from sticking to the baking sheet.
- Key Ingredients:
- Cake mix or homemade cake: The foundation of your cake pops. You can use any flavor, from classic vanilla to rich chocolate, or even something more unique like red velvet.
- Frosting (store-bought or homemade): The glue that holds your cake pops together. Classic buttercream is a popular choice, but cream cheese frosting or even a flavored frosting can add a new dimension of taste.
- Candy melts or chocolate for coating: The outer layer of your cake pops, which can be customized in a variety of colors and flavors. Candy melts are easy to work with and come in a wide range of colors, while chocolate provides a richer taste.
Choosing the right tools and ingredients is crucial to achieving perfect cake pops. The type of cake and frosting you choose will affect the texture and taste, so feel free to experiment with different combinations. For tips on achieving the perfect cake pop, visit Jenny Cookies’ Perfect Cake Pop Tips.
Step-by-Step Guide to Making Cake Pops
Making cake pops can be broken down into a few simple steps. Here’s how to do it:
- Baking the Cake
- Start by baking your cake according to the recipe or box instructions. Make sure it’s fully cooled before moving on to the next step. Cooling the cake is crucial because if it’s too warm, the frosting will melt, making it difficult to achieve the right consistency. You can bake the cake a day ahead and store it in the refrigerator until you’re ready to make the cake pops.
- Crumbling the Cake
- Once cooled, crumble the cake into fine crumbs using your hands or a food processor. The crumbs should be uniform and without large chunks. This step is important because large pieces of cake can make it difficult to mix evenly with the frosting. Aim for a texture that resembles bread crumbs; this will make it easier to form smooth, round cake balls.
- Mixing with Frosting
- Add a small amount of frosting to the crumbs and mix until you achieve a dough-like consistency. Start with a tablespoon or two of frosting and gradually add more if needed. Be careful not to add too much frosting, as this can make the mixture too wet and heavy, resulting in soggy cake pops that won’t hold their shape. The mixture should be moist enough to hold together but not sticky.
- Shaping the Cake Pops
- Roll the mixture into balls, roughly the size of a ping-pong ball. Place them on a parchment-lined baking sheet. If you find the mixture too sticky, you can chill it in the refrigerator for a few minutes before shaping. This will make the dough easier to handle. Once all the balls are formed, chill them in the refrigerator for about 30 minutes to firm up. This step is crucial for ensuring that the cake pops hold their shape when dipped in the coating.
- Inserting the Sticks
- Dip the end of each cake pop stick into melted candy melts or chocolate and insert it into each cake ball. This helps the sticks stay in place. Be sure to insert the stick about halfway into the cake ball to ensure it’s secure. After inserting the sticks, chill the cake pops again for about 10 minutes to let the coating on the stick set.
Decorating Your Cake Pops
Once your cake pops are firm, it’s time to decorate:
- Coating the Cake Pops:
- Melt your candy melts or chocolate in a microwave-safe bowl. If using chocolate, consider adding a bit of shortening to thin it out for easier dipping. Dip each cake pop into the coating, ensuring it’s fully covered. Tap off any excess coating, but be gentle to avoid the cake pop falling off the stick.
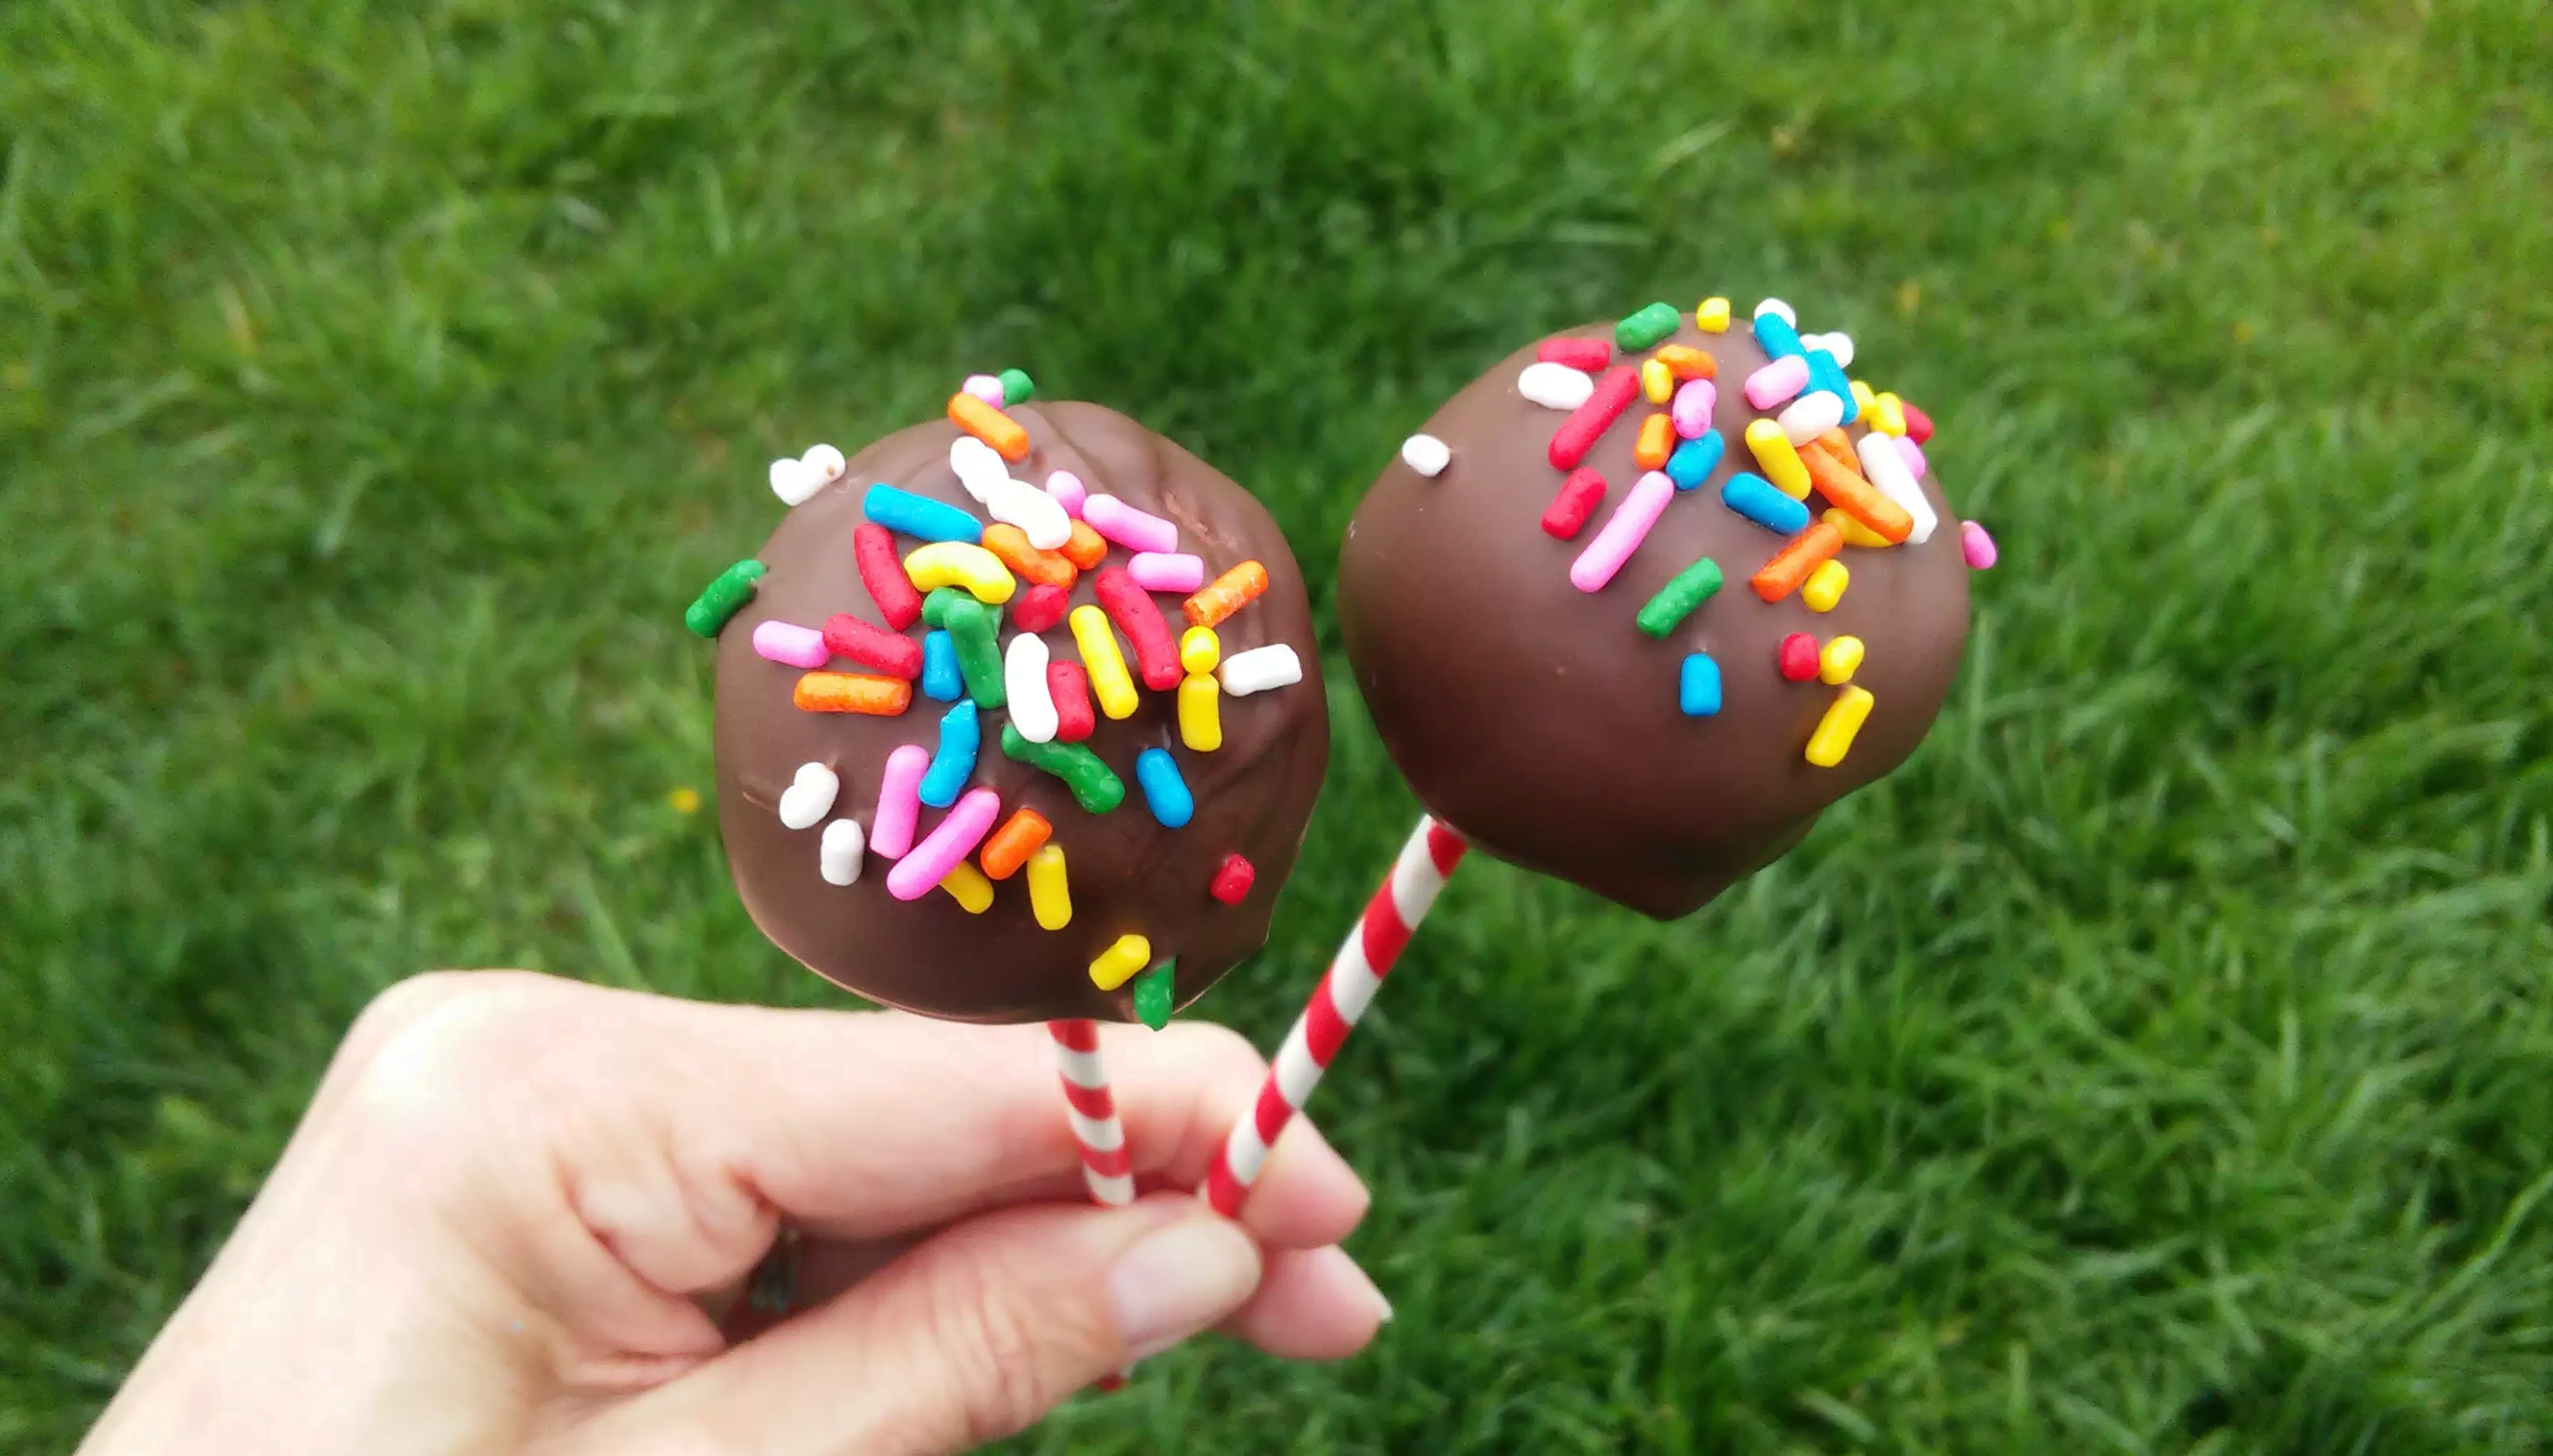
- Decoration Ideas:
- While the coating is still wet, decorate your cake pops with sprinkles, edible glitter, or drizzle with contrasting chocolate. You can also use small candies, nuts, or even crushed cookies for added texture and flavor. If you’re looking for more sophisticated decorations, you might want to explore these Earl Grey Cookies for ideas on flavor combinations and subtle enhancements that can be applied to cake pops as well.
- Advanced Decorating Techniques:
- For a more sophisticated look, try marbling the coating by swirling in a few drops of food coloring or using specialty molds to create character shapes. You can also create patterns by piping different colors of melted candy onto the cake pops before the coating sets.
Decorating is where you can truly let your creativity shine. Whether you’re making simple pops for a child’s birthday or elaborate designs for a wedding, the possibilities are endless.
Tips for Perfect Cake Pops
Even experienced bakers can run into issues with cake pops. Here are some tips to ensure yours turn out perfectly:
- How to Prevent Cracking:
- Cracking usually happens when the cake pop is too cold and the coating is too hot. Make sure to let the cake pops sit at room temperature for a few minutes before dipping. If you’ve been storing the cake pops in the refrigerator or freezer, let them come to room temperature slowly to avoid temperature shock.
- Achieving Smooth Coating:
- To avoid lumps or bubbles in the coating, ensure your candy melts or chocolate are completely smooth and at the right temperature before dipping. If the coating is too thick, you can thin it out with a bit of shortening or vegetable oil. Additionally, gently tapping the stick against the side of the bowl can help remove excess coating and prevent drips.
- Avoiding Common Mistakes:
- If your cake pops are falling off the stick, try dipping the stick into the coating before inserting it into the cake ball. This helps secure the cake pop to the stick. Additionally, make sure you’re using the right amount of frosting when mixing with the cake crumbs—too much frosting can make the cake pops too soft and difficult to work with.
- Storage Tips:
- After decorating, allow the cake pops to set completely at room temperature before storing. Store them in an airtight container at room temperature for up to two days or in the refrigerator for up to a week. If you need to store them for longer, you can freeze them for up to a month. Just be sure to wrap each cake pop individually in plastic wrap before freezing to prevent freezer burn.
Creative Variations of Cake Pops
Once you’ve mastered the basics, it’s time to get creative:
- Flavor Variations:
- Experiment with different cake flavors such as Red Velvet, Lemon, or Chocolate. Each flavor brings a unique twist to the classic cake pop. You can also try using different frostings, such as peanut butter or cream cheese, to complement the cake flavor. For a truly unique treat, consider trying a flavor combination like coconut cake with pineapple frosting for a tropical twist.
- Themed Cake Pops:
- Create themed cake pops for holidays or special occasions. For example, use orange and black coatings for Halloween or red and green for Christmas. You can also create cake pops shaped like pumpkins for Halloween, hearts for Valentine’s Day, or even mini Easter eggs. Themed cake pops are a great way to make your dessert table stand out and add a festive touch to your event.
- Healthier Cake Pop Options:
- For a healthier alternative, try making gluten-free or vegan cake pops using appropriate substitutes. Use gluten-free cake mix and frosting for a gluten-free option, or replace the eggs and dairy with plant-based alternatives for vegan cake pops. You can also reduce the sugar content by using a low-sugar frosting or opting for dark chocolate coating.
Creating healthier cake pops doesn’t mean sacrificing flavor. With the right ingredients, you can make cake pops that are just as delicious as the traditional version but more suitable for specific dietary needs.
How to Store and Transport Cake Pops
Proper storage and transportation are key to keeping your cake pops looking and tasting great:
- Storing Cake Pops:
- Store your cake pops in an airtight container. They can be kept at room temperature for up to two days or refrigerated for up to a week. If you plan to keep them longer, freezing is the best option. To freeze, wrap each cake pop individually in plastic wrap, then place them in a freezer-safe container. Thaw them in the refrigerator before serving to maintain their texture and flavor.
- Transporting Cake Pops:
- When transporting, place the cake pops in a sturdy container with a lid. To prevent damage, you can wrap each cake pop individually in plastic wrap or place them upright in a Styrofoam block. If you’re transporting a large number of cake pops, consider using a cake pop stand to keep them secure and upright during transit. This is especially important if the cake pops are decorated with delicate designs or toppings.
If you’re inspired by multi-layered flavors and sophisticated techniques, you might also enjoy this Cinnamon Roll Cheesecake recipe, which showcases creative ways to combine flavors and textures.
Frequently Asked Questions (FAQs) About Cake Pops
- Can Cake Pops Be Made Ahead of Time?
- Yes, cake pops can be made in advance. Store them in the refrigerator or freeze them for longer storage. Making them ahead of time is convenient, especially if you’re preparing for a large event. Just be sure to store them properly to maintain their freshness.
- How Long Do Cake Pops Last?
- Cake pops last up to a week in the fridge or up to a month in the freezer. The key to keeping them fresh is proper storage. If freezing, wrap each cake pop individually to prevent them from absorbing any unwanted odors from the freezer.
- What is the Best Way to Store Cake Pops?
- The best way to store cake pops is in an airtight container in the refrigerator. For longer storage, freeze them individually wrapped. This method helps preserve their texture and flavor, ensuring that they taste just as good when you serve them as they did when you made them.
- Why Are My Cake Pops Cracking?
- Cracking is often caused by temperature differences between the cake and coating. Let the cake pops sit at room temperature before dipping to avoid this issue. Ensuring that the cake balls aren’t too cold before dipping can also help prevent cracks from forming.
- Can I Use Different Types of Frosting?
- Absolutely! You can use any frosting you like, but keep in mind that different frostings may alter the texture and flavor of your cake pops. For instance, cream cheese frosting will add a tangy flavor and a slightly denser texture, while buttercream will be lighter and sweeter.
Advanced Cake Pop Techniques
For those looking to take their cake pops to the next level, consider these advanced techniques:
- Adding Fillings to Cake Pops:
- Inject a filling like caramel or jam into the center of each cake pop for an extra surprise. To do this, use a piping bag fitted with a small tip to carefully inject the filling after the cake balls have been formed but before dipping. Be sure to seal the hole with a bit of cake before coating to prevent the filling from leaking out.
- Creating Multi-Layered Cake Pops:
- Layer different cake flavors inside one cake pop for a colorful and flavorful treat. This technique involves stacking layers of different colored cake crumbs with a bit of frosting in between, then shaping them into a ball. The result is a stunning, multi-colored cake pop that’s as beautiful as it is delicious.
- Using Specialty Molds and Tools:
- Use specialty molds to create shapes or characters, and piping bags for intricate designs. Specialty molds can help you create uniform shapes like hearts, stars, or even animals. For a truly professional look, consider using airbrushes or edible paints to add detailed designs or shading.
Conclusion
Making cake pops at home is a fun and rewarding experience. By following this guide, you’ll be able to create delicious and visually appealing cake pops that are perfect for any occasion. Remember to experiment with different flavors and decorations to make your cake pops truly unique. Whether you’re making them for a special event or just to satisfy a sweet craving, cake pops are sure to impress. Happy baking!